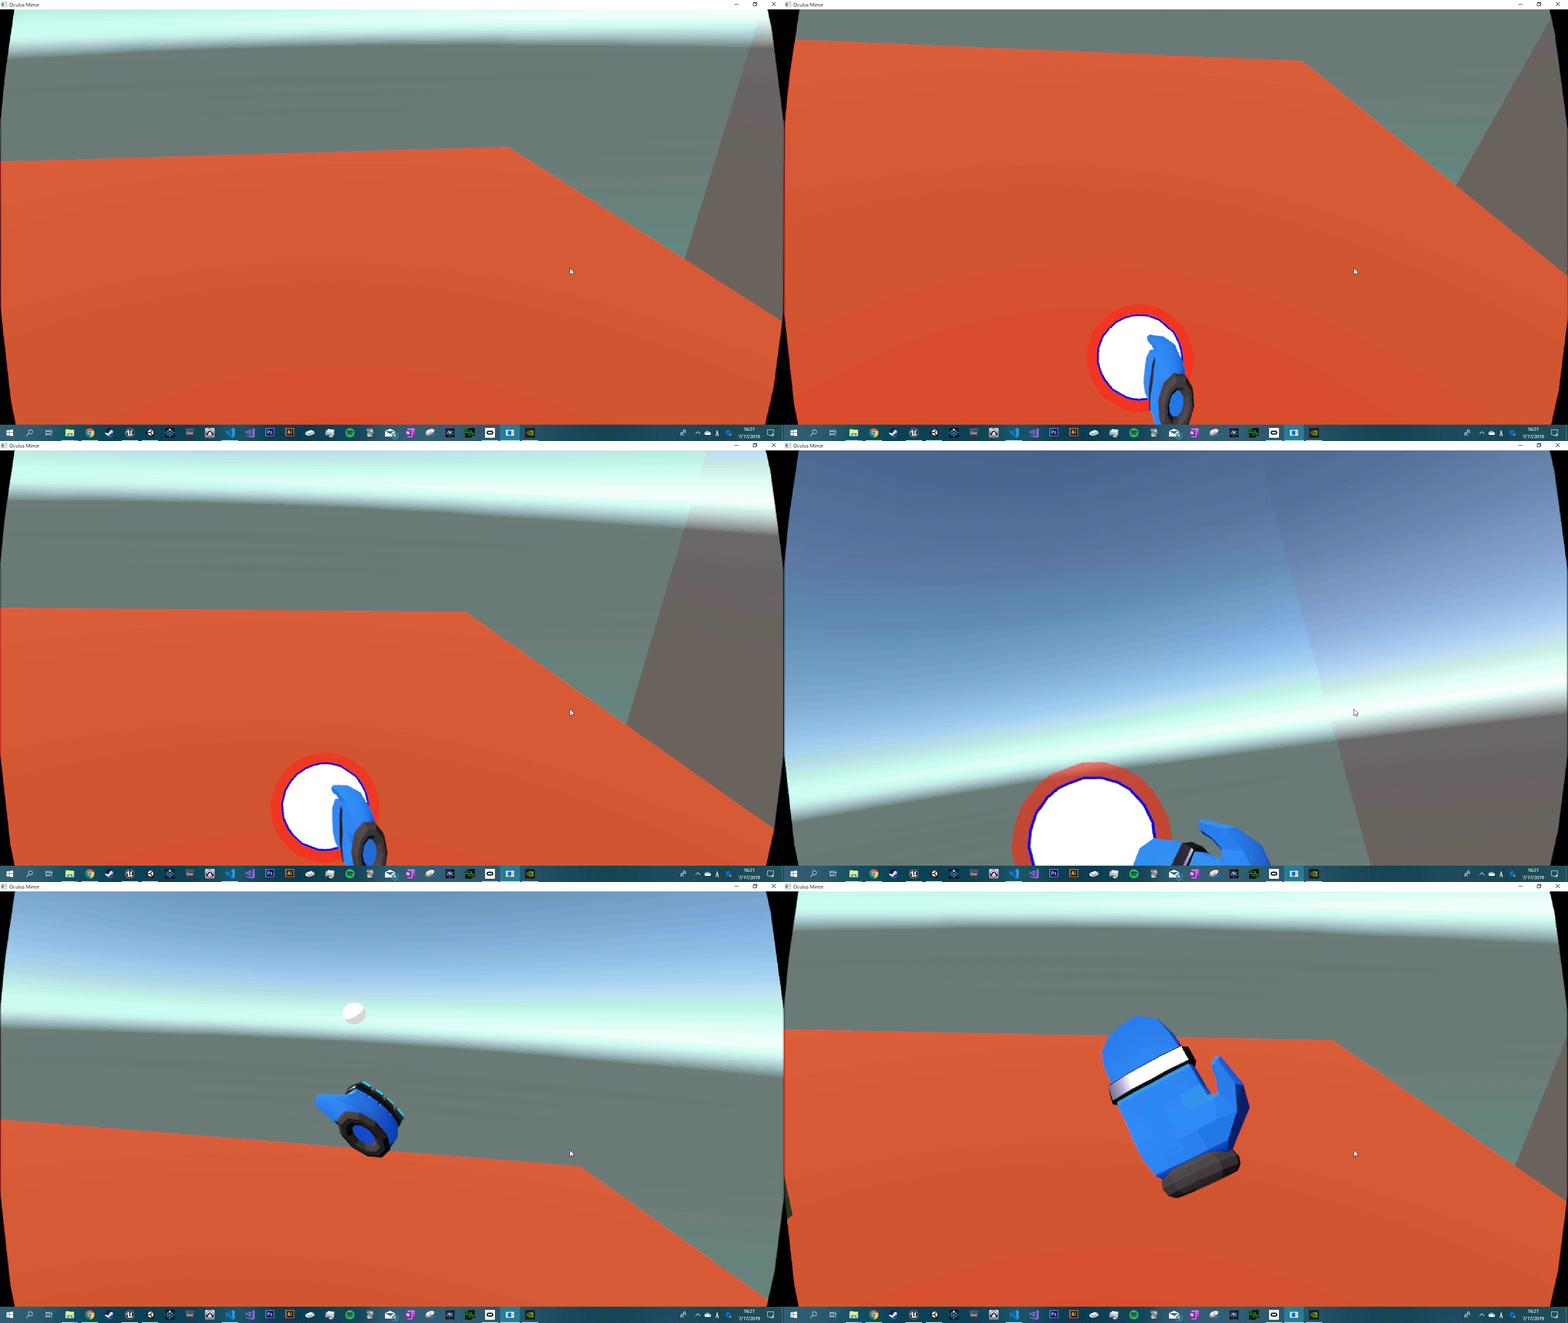
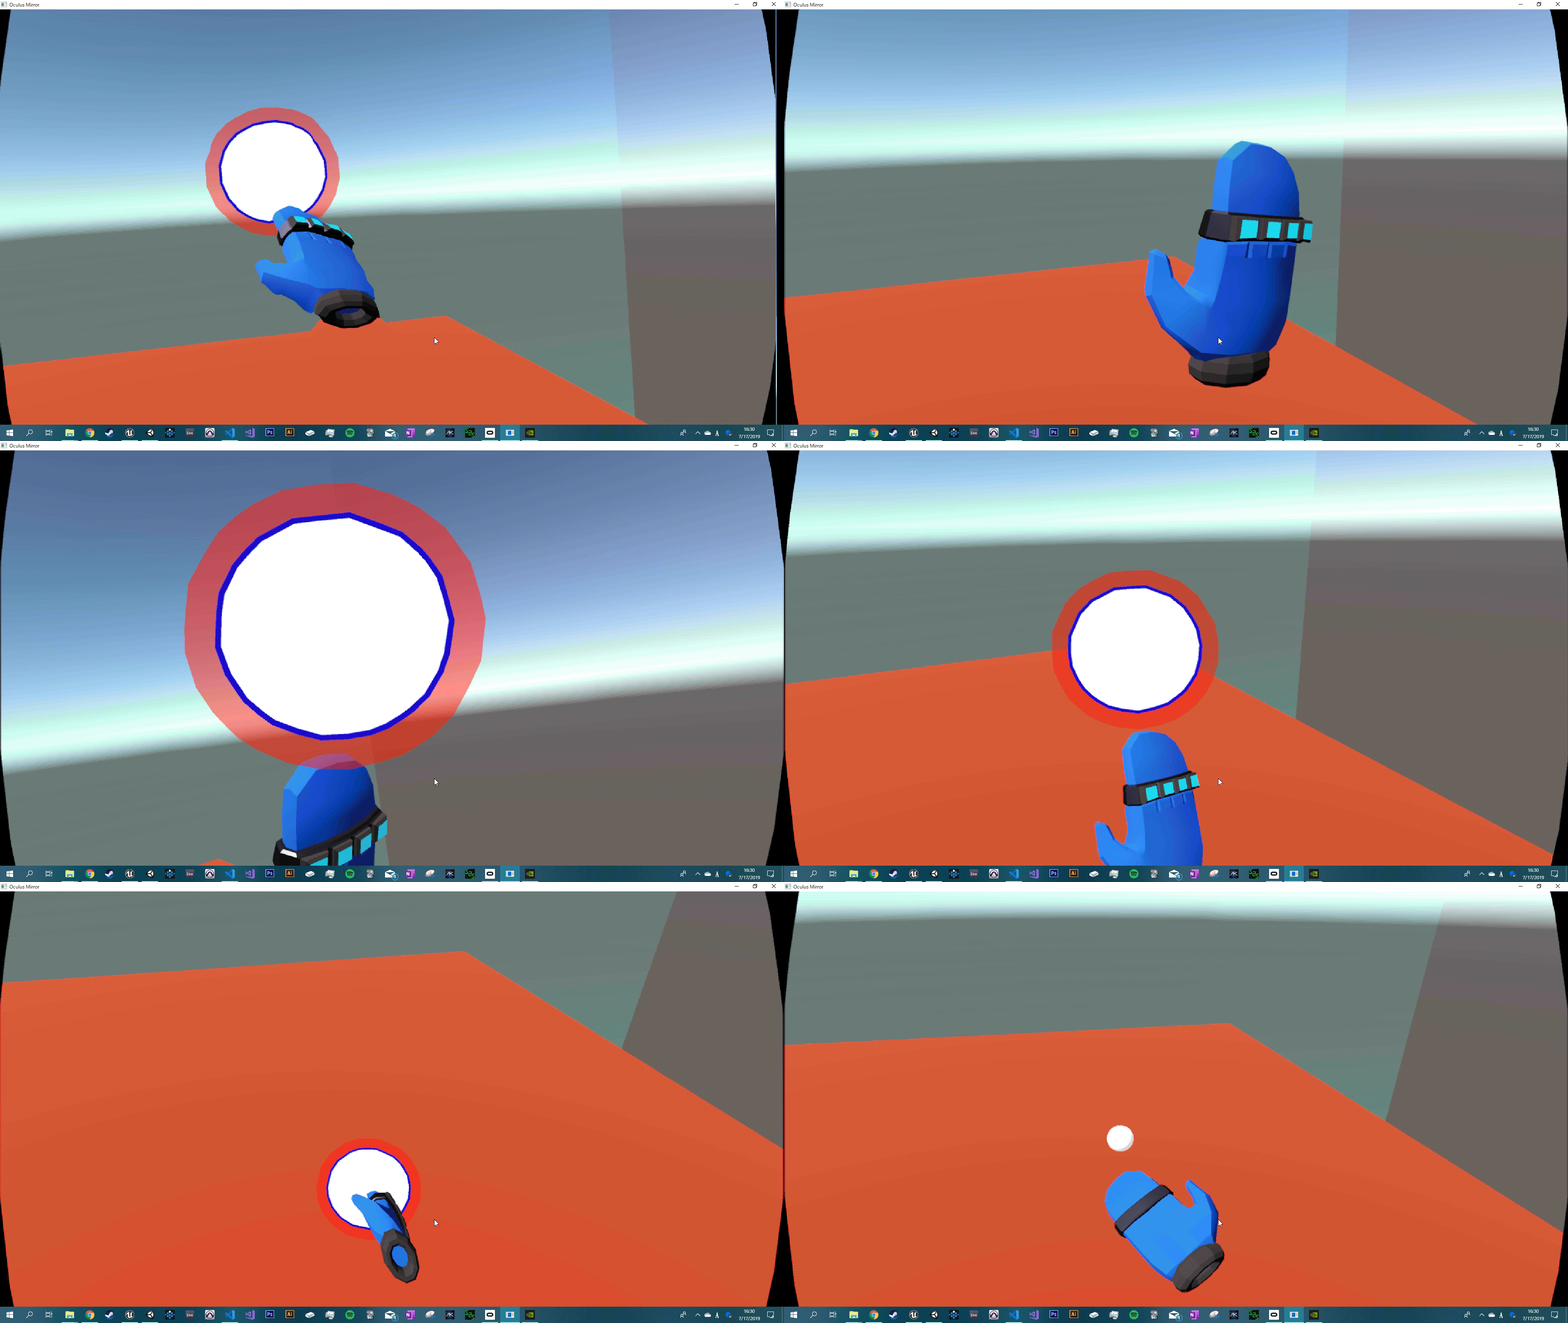
The ability to pick up, hold, and throw virtual objects with your actual, real hands is perhaps one of the most exciting first interactions that most users have when they first enter a virtual reality experience. Throwing is one of the more commonly featured interactions throughout the library of currently available VR games, such as titles like Job Simulator, Rec Room, and Hot Dogs Horseshoes & Hand Grenades. Yet a large amount of games featuring some sort of objects to throw have issues accurately replicating throwing like we’re used to in real life. Throws with lots of force behind them will either go way too far or arc right to the ground depending on the time of release. First time users that are still hesitant to perform a normal throw from the fear of hitting an object in their playspace may flick the controller and watch as the object stops dead in its tracks and falls straight to the floor.
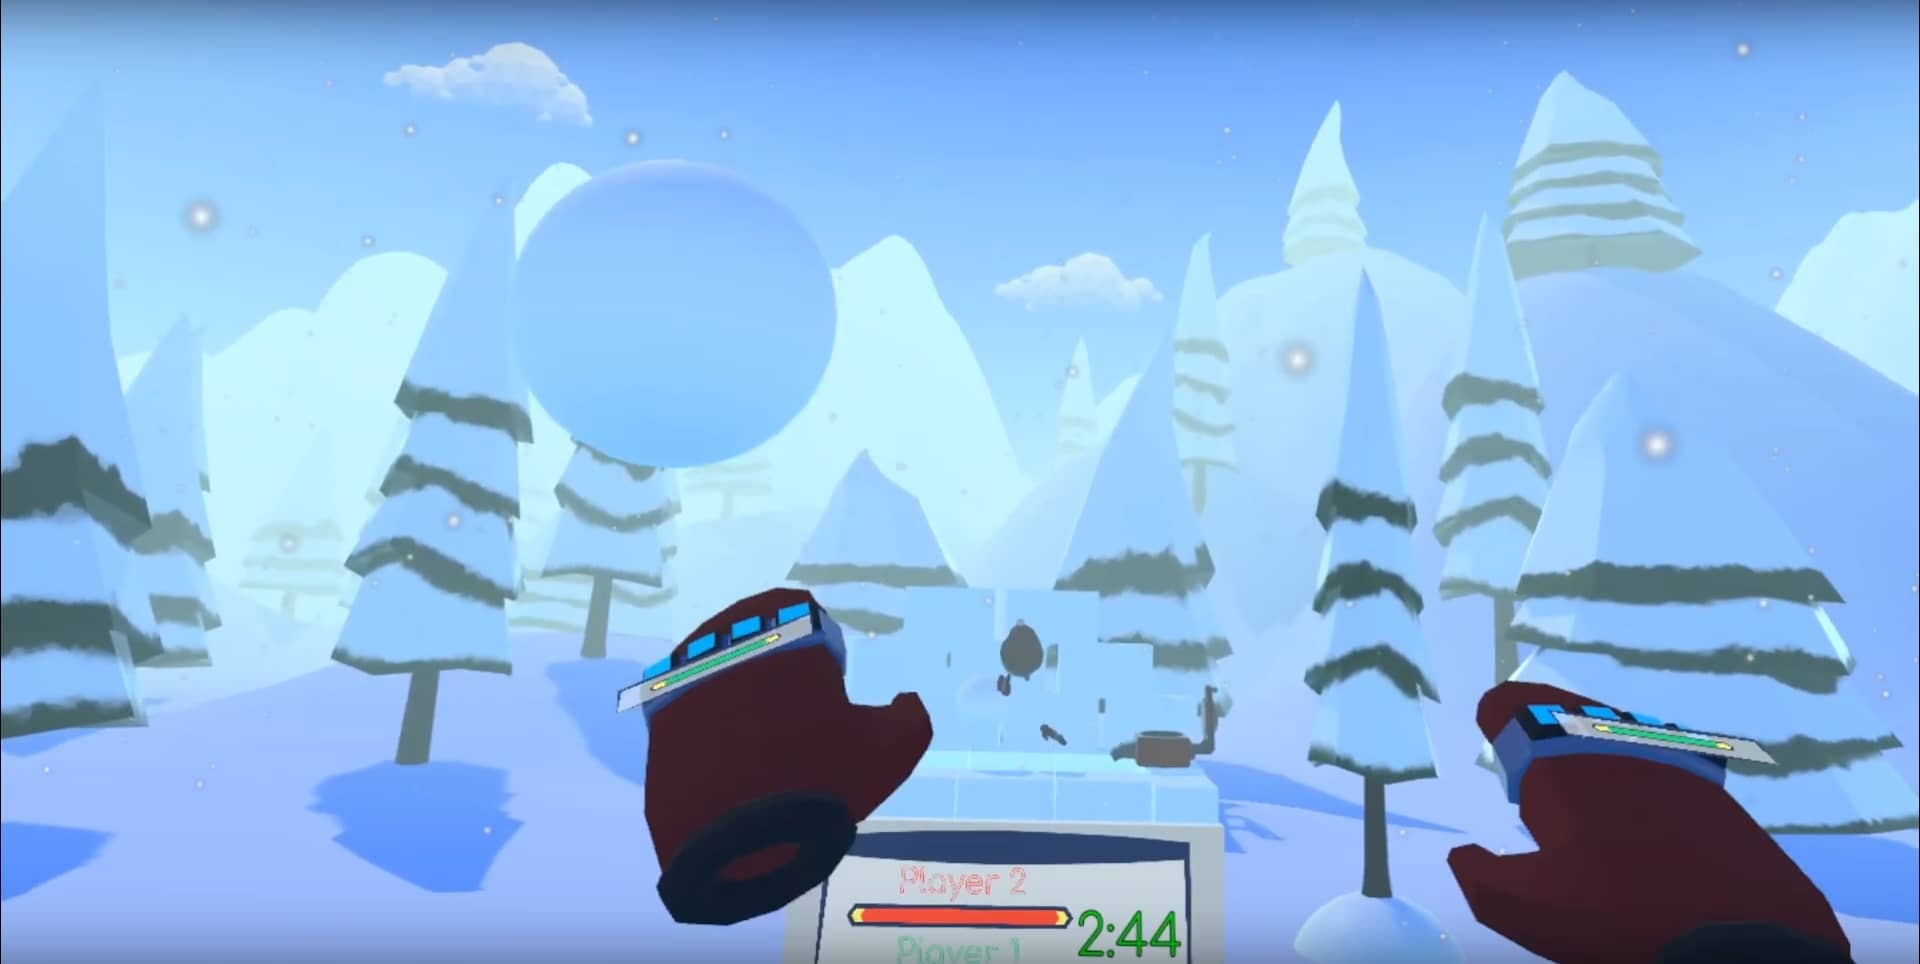
Unrealistic interactions like these lead only to frustration and shatter a player’s sense of immersion instantly. Myself and one of my game teams this summer ran into these issues with a game we’re developing called Snowball Showdown. It’s a casual 1v1 multiplayer game where players participate in a VR snowball fight and, you guessed it, are throwing lots and LOTS of snowballs. As a game where throwing is the main mechanic, Snowball Showdown could not feature these inherently frustrating physics interactions, as they would simply drive players away from the game. Luckily, after some experimenting with the throwing physics code that comes with the Unity Oculus integration, I was able to identify the source of these types of problems and come up with several solutions to resolve them.
Problem #1: Center of Mass
With the current limitations of modern VR technology, it is completely impossible to detect the weight of a held virtual object. This results in an inherit cognitive dissonance between what you feel in your real hands (a physical controller that always has the same mass and center of mass) and what you can see in the virtual world (an object your sense of touch has no way of detecting, and by extension, cannot determine how heavy it is or where its center of mass is).
Because of this, when you throw something in VR, you’re naturally throwing it based on the center of mass of the controller, not of the object. If the throwing physics are calculated from the held object’s center of mass or ignore center of mass entirely, the throwing will never feel like it’s coming from your physical hand (i.e, the controller), which results in inconsistent and immersion shattering throws that go all over the place or fall flat on their face. No good.
Unfortunately, this is exactly what many VR games (and the default Oculus Unity integration, which I’ll use as my main example from here on out) are doing when they do their throwing calculations; they completely ignore the controller center of mass, resulting in a tangible disconnect from the real world interaction and the virtual world’s reactions.
Problem #2: (Only) Linear Velocity
When you throw an object in real life, your hands have a linear velocity, which is the speed of its movement in a given direction (X, Y, or Z as a vector). The higher the linear velocity, the farther and faster the object will be thrown. It’s simple enough. But, real life throwing is really not as simple as just moving your hand in the X, Y, or Z direction.
When you wind up to throw an object like a softball for example, you are not only moving your arm linearly back towards your shoulders and then forward to release the throw, but also rotating your arm, and by extension, the object, as you pull back, push forward, and release.
This means that during a throw, the object has both linear velocity and angular velocity, or how fast an object is rotating around its X, Y, and Z axes. Ignoring angular velocity when calculating throwing would ignore any throw where the controller is not moving (i.e, has no linear velocity) but still has rotation, resulting in the object either feeling stiff or falling to the ground when released.
While the default Oculus Unity throwing does transfer linear and angular velocity to the object, it doesn’t take both of them into account when calculating the velocity that’s actually applied to the object. resulting in unresponsive and clunky feeling throws.

Problem #3: Flicking
As game designers, we always have to take the player’s actions into account when approaching a problem area of design. This is even more important when dealing with an emerging technology like VR that many players have never tried before.
With new technology comes new learning curves, and with new learning curves come some initial hesitations. Many of the initial playtesters of Snowball Showdown had never used VR before and were hesitant to perform a full, real throw either because they were afraid of hitting something in real life or thought the object had mass like it did in the real world.
Instead of throwing the objects, they would perform a sort of flicking motion and stop their hand after flicking, which when using the default Oculus physics, caused the ball to drop straight to the ground (since velocity is transferred at the exact frame of release) , causing confusion and disappointment. Needless to say, this has potential to sour a newcomer to VR’s first experience and needed to be addressed.

The Solution: Math!
With the three issues in mind, it’s clear that we need the following to get throwing feeling natural, responsive, and adaptive to user error & hesitation:
- The center of mass of the controller must be used when calculating the throwing velocity to feel natural.
- Both the linear and angular velocity of the controller must be used to get the real throwing velocity to improve responsiveness and smoothness.
- The full throwing velocity must be calculated over a certain period instead of the frame of release to account for user hesitation and error.

Now we just need to factor the controller center of mass into the throwing calculation along with the linear and angular velocity which is…not so easy to see, at least at first.
If we think about it for a little bit, if we have an object attached to a controller and the controller has a linear velocity of zero and a non-zero angular velocity (meaning it has no movement speed but has rotation speed), then the object itself has a non-zero linear and angular velocity since it is moving linearly along with the angular velocity (rotation) of the controller.
This means that to get the full velocity of the throw, with linear and angular velocity both included, we need to somehow get a vector that is perpendicular to the angular velocity of the controller (the rotation) and the location of the object relative to the controller’s center of mass. Essentially, this is the resultant velocity vector of the object when the hand has a non zero angular velocity, which is what we need to add to the controller’s linear velocity to get the full throwing velocity.
Luckily, such a vector can be found easily using one of Unity’s vector calculation functions: Vector3.Cross. This will return the vector that we need. Here is a visual explanation modified from the Unity documentation of what the Cross Product results in in our case:

Let Controller Angular Velocity be “Lhs” and the location of the object relative to the controller center of mass (Object pos – controller CoM) be “Rhs”. If the controller is rotating with an angular velocity of (-5, 0, 0) and the object is above the controller with an offset of (0, 0, 1.5) between its position and the controller’s center of mass, the resulting cross product vector would be (0, 7.5, 0), meaning the object is moving at a speed proportional to its location and the rotation of the controller.
Whew…that was a bit of a mouthful. Luckily we don’t have to worry too much about actually getting the cross product in code now that we have the center of mass of the hand and the Oculus code already accounts for the offset location of the object relative to the hand. Here’s how we get the cross product in the OVRGrabber script:

Once we’ve got the cross product velocity, all we need to do is add it to the controller’s linear velocity vector and apply the resulting vector to the grabbed object’s rigidbody at the point of release. In the Oculus scripts, this is done in OVRGrabable with the following code:

With the full velocity applied, this is how throwing looks. There is an obvious, substantial improvement to the responsiveness, speed, and accuracy of the throws!

Although this is already feeling pretty good, if the player performs the flicking motion described earlier, the object still stops dead in its tracks…
Luckily enough, this is relatively easy to fix with a simple frame tracking and average calculation. Essentially, we need to store the velocity of the object over a period of frames then get the average velocity from that period and add it to the velocity of the object.

The Solution (Part 2): Fixing Flicking with Average Velocity Tracking Over a Period Of Five Frames
Storing data over a period frames is quite easy to do. The basic concept is to have an array of whatever data type needed (in this case a Vector 3) with the size equal to how many frames you want to track (in this case 5 frames, so a size of 5). Then, in FixedUpdate (to keep the physics even no matter the framerate), you want to increment an integer to “step” through the frames until it equals the maximum number of frames you want to track, at which point you reset the step integer to 0. Finally, you want to set the frame array at the current step to equal the current velocity of the rigidbody to get the velocity at each frame. Do this for the angular velocity as well!

Next, we need to simply get the average velocity vectors of our array and apply them to the rigidbody’s linear and angular velocities as long as they’re not 0. Additionally, we need to reset the data in the frame arrays after they’re applied to the velocity so we get new values each time the object is thrown. This is as simple as resetting the velocity step from before and re-initializing the arrays!

All that’s left to do is call these values on a grab release, which is done as follows! Make sure this is done after the full throw velocity is calculated so the average being applied uses that vector!

And with that, we have greatly improved VR throwing and accounted for new user hesitation and/or error! The object will no longer stop dead in its tracks when flicked, and instead move at the speed of the hand’s acceleration at the last 5 frames before release, resulting in a smooth feeling throw that prevents frustration.


I hope this post was informative and has helped you improve the throwing physics in your VR games! While this solution is a certain improvement over the stock Oculus physics, this may not be the ideal feeling for every game. More realistic games will want to take the mass of the object more into account, for example. However, if you have any suggestions, comments, or feedback, please leave a reply below!
See you next time,
– Karl


Mikuya
29 Jul 2019Would you be so kind as to include a screenshot of the “GetVectorAverage” function? Somehow, I’m having a tough time wrapping my head around building it.
Karl Lewis
29 Jul 2019Sure thing, here it is!
Think of it as simply just getting the average of a group of numbers normally except doing it for three different values, X, Y, and Z, then building a new vector out of those values divided by the number of vectors passed in.
https://imgur.com/a/5LvuFJ2
Mikuya
30 Jul 2019Awesome, thank you so much! Your guide is super informative and it solves exactly what I was having an issue with. I’m planning on working this into a different interaction framework that I found: https://github.com/andrewzimmer906/Easy-Grip-VR
Thanks again, Karl!
Karl Lewis
30 Jul 2019No problem, I’m glad you found it useful! I’ll take a look at your framework when I get a chance, thanks for sharing! 🙂
Auke
17 Sep 2019Hi Karl,
Thanks for the extensive walkthrough. It is exactly what I’m trying to achieve at the moment.
Unfortunately I’m having a hard time getting this to work. Maybe you can point me in the right direction ?
I’m using the LocalAvatarWithGrab prefab, which has the ‘AvatarGrabberLeft & AvatarGrabberRight as childs who both have the OVR Grabber script attached to them.
I can’t seem to figure out the following steps:
First step: Where do you declare the center of mass? Is this in a separete (new) script or in the OVRGrabber script?
Adding it to the protected virtual void ‘Start’ or ‘Awake’ of the OVRGrabber breaks the OVR setup.
In the second part I get this error when declaring the controllerVelocityCross:
‘Operator ‘-‘ cannot be applied to operands of type Vector3 and Float.
I recon this is because ‘m_grabbedObjectPosOff’ is declared as a Vector3 and not as a float in the OVRGrabber script.
Any idea how I can solve this ?
Karl Lewis
18 Sep 2019Hey there! Sorry I didn’t get back to you sooner, just saw this now.
I’m declaring the center of mass for the controller in the OVRGrabber script. I’m not sure why it would break the OVRSetup, but it might be because you’re using the Avatar components.
For the – operator, its because the controllerCenterOfMass is declared as a Vector3, not a float! You should be able to change that then it will work with the m_grabbedObjectPosOff.
Maug
7 Dec 2019Hi Karl,
Nice tutorial, it is exactly what I was looking for ! Thanks a lot !
I have one question though: When you add the average velocity, shouldn’t it be “rb.velocity += velocityAverage” instead of “rb.velocity = velocityAverage” ? If not fullThrowVelocity will be override by velocityAverage as it is set on the same update or am I wrong ?