Challenging the 3rd Step!
It’s been around a month now since we decided to pick Cash Force as our final prototype for Capstone and moved out of Step 2 and into the real deal: step 3, where we must develop the core experience of our concept and start bringing it to fruition! I’ve been updating weekly with progress reports on my end, but this post will follow a similar fashion to the first two: an overview of what myself and the team has been up to for the past month and a reflection on our thoughts and processes. Additionally, since I want to continue making weekly updates, I’ll be talking about what I did this past week for the game!
So without further ado, lets get into how we’ve defined the core experience for Cash Force as well as how we’ve iterated on that experience throughout the course of step 3!
What is "Cash Force?"
I’ve previously gone over the concept and intent of Cash Force in my previous posts, but we’ve now refined this statement into a more concise/pitch-esque statement (which I’ve been using in my weekly updates as well):
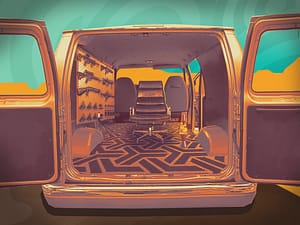
Cash Force is a high-octane arcade VR shooting game where you take the role of an undercover cop gone rouge fleeing the scene of a heist in a colorful 70’s crime film esque setting. Defend your stash of cash from pursuing thugs using an assortment of highly intractable weapons. Lock, load, and shoot your way through waves of pursuing enemies as you engage in combat out of the back of a moving heavily armored van, using the doors and other supplies as cover. Carefully plan your escape route before fleeing the scene of the crime, but remember, the higher the risk, the higher reward! Earn cash from performing skillful shots on enemies, allowing you to purchase upgrades and gadgets to improve your weapons and van. But be careful: the more damage the van receives, the more cash you lose, and its game over if you run outta’ cash!
Iteration: Design
Emmett and myself iterated on the design of the gameplay substantially throughout the course of step 3. For starters, we all originally had different ideas in our head about what the core experience actually looked like: where did the game take place? What would the player be seeing and doing? Some of us thought of the game being in a city on a highway while others had imagined a more desert setting on long windy roads. We eventually decided on pursuing a mix of both for our main gameplay level, with the desert serving as the introduction to the gameplay and the city streets making up the bulk of the scenario. This would allow us to have one really long road at the start for the player to get acquainted with the van and dispatch their first enemy, with more enemies spawning once the city was entered.
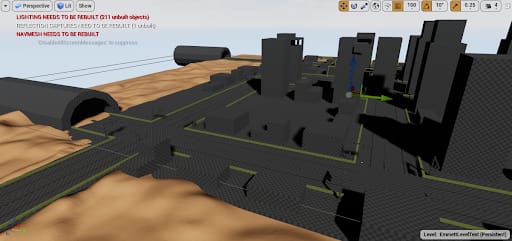
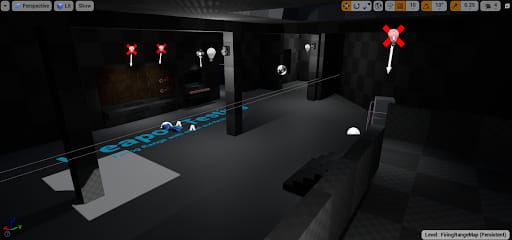
We also needed to iterate on the game loop overall. Originally we had just planned for the level to start in the van and go from there, but we quickly realized that this would be to jarring. To rectify this, we sat down as a team and went through a minute by minute walkthrough of the gameloop we wanted to have by the end of the semester that reads as follows:
- Hideout Tutorial/Menu
- Hideout hub with shooting range and results/upgrade menus
- First heist escape scenario in the van
- Back to hideout hub with results/upgrades
This is more or less what we’re going to be focusing on for the remaining few weeks: getting this game loop working and feeling as good as possible. Within this framework were several iterations; the first screen was originally a generic start button, but Josh had a great idea of using the guns to shoot menu “buttons”. This would allow us to essentially create the tutorial around the menu, since players would need to learn how to load and shoot the guns before they could get into the hideout hub area. We came up with the idea of having spot lit gun on a table that cause the room to illuminate when its picked up. The reload sequence highlights would then indicate to the player how to load the gun, and big buttons reading “Shoot to begin” would be on a board in front of the player. This is essentially killing two birds with one stone, and we all agreed that it would better leverage VR than simply having lame ol’ buttons.
Once the player shoots the tutorial button, they’ll be placed in a little hideout area. The hideout features a shooting range with practice targets as well as a whiteboard with the Results from the previous mission displayed as well as a whiteboard for upgrades. Players would look at teleport points on the floor to move to these respective areas. We want this area to allow players to have time to familiarize themselves with the controls better as well as tease the upgrade system we want to create next semester. Another teleport point would be placed in front of the van, and when moved to, the real scenario would begin. Players would then play through the map, earning score from dispatching enemies, and then be brought back to the hideout hub at the end of the level. From there they would see their results, such as score, headshots, and other metrics to indicate their performance. This would be the end of the vertical slice.
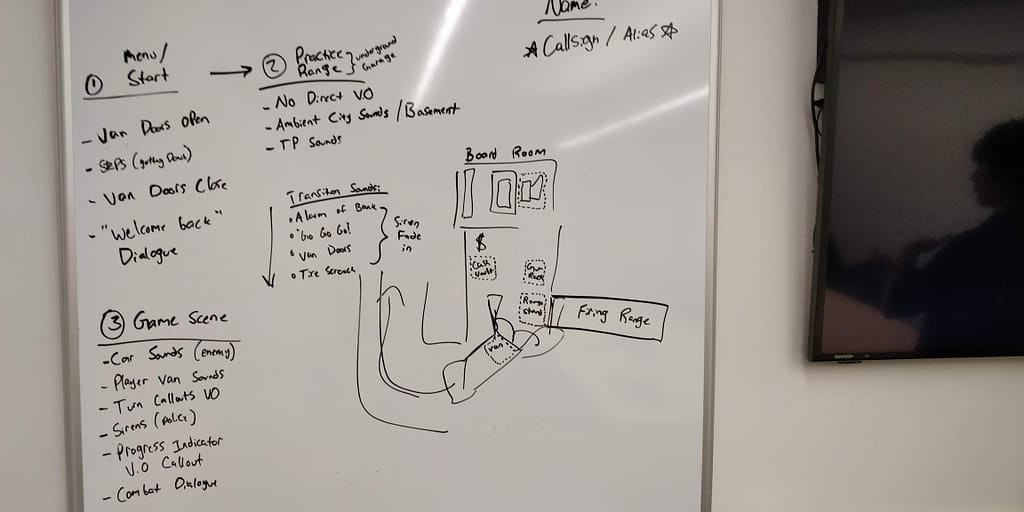
Another core idea we iterated on substantially was the idea of scripted audio cues to not only indicate progress to the player but also enhance the gameplay experience from an immersion standpoint. Originally, we didn’t really have many plans for audio apart from the actual gameplay elements (guns, cars, UI/score indicators etc), but after receiving a lot of feedback in class, we decided that creating scripted dialogue would be a great way to indicate progress to the player as they move throughout the level. Austin created a script of voice lines for each different stage of the vectical slice. We also discussed scripted sound cues that would be played at certain points, such as the van driver informing the player that they’re halfway to the exit or the van doors opening and closing when leaving/returning to the hub. My goal for the upcoming spring is to get all of the crucial sound effects and dialogue created and in engine (spoiler alert: I’ve already made all the sounds and recorded the dialogue with Austin!).
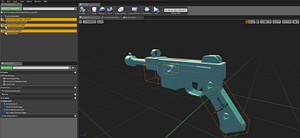
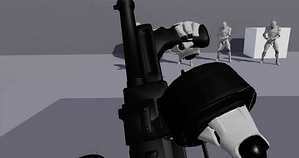
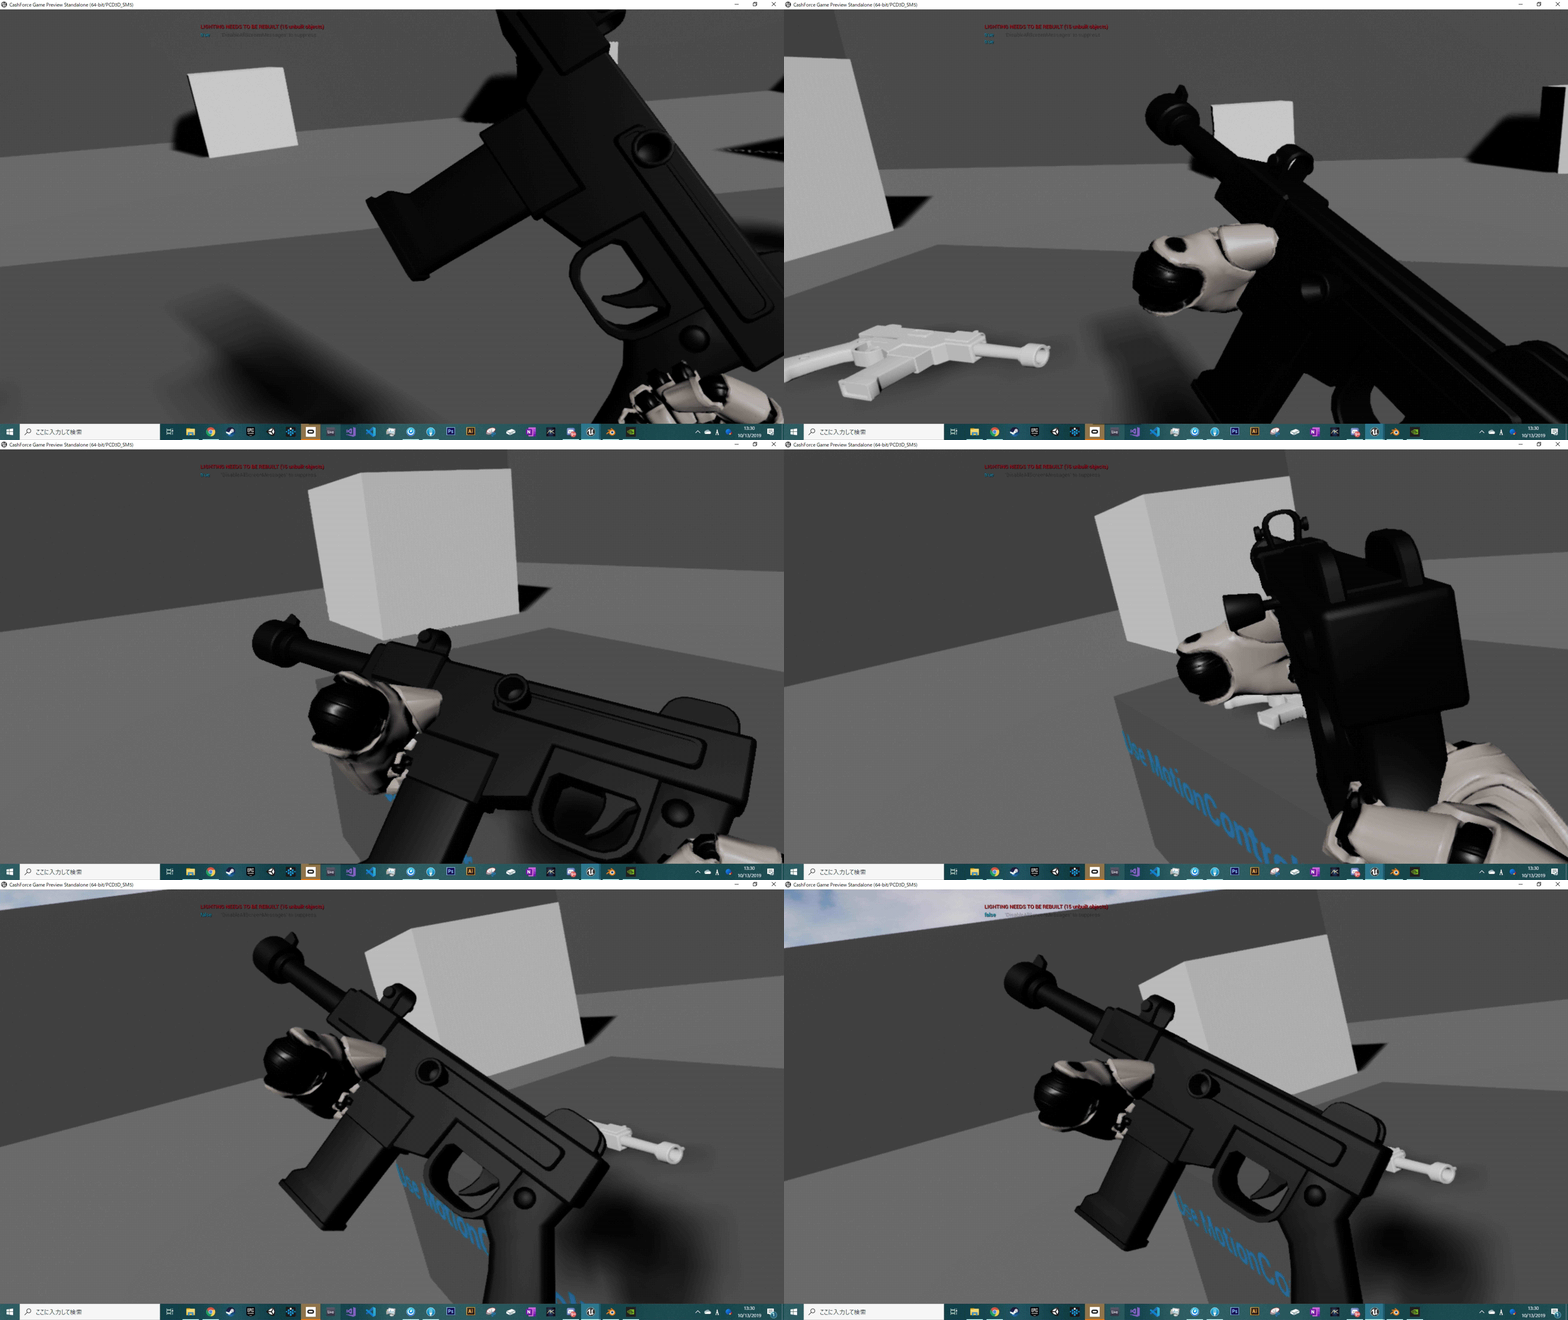
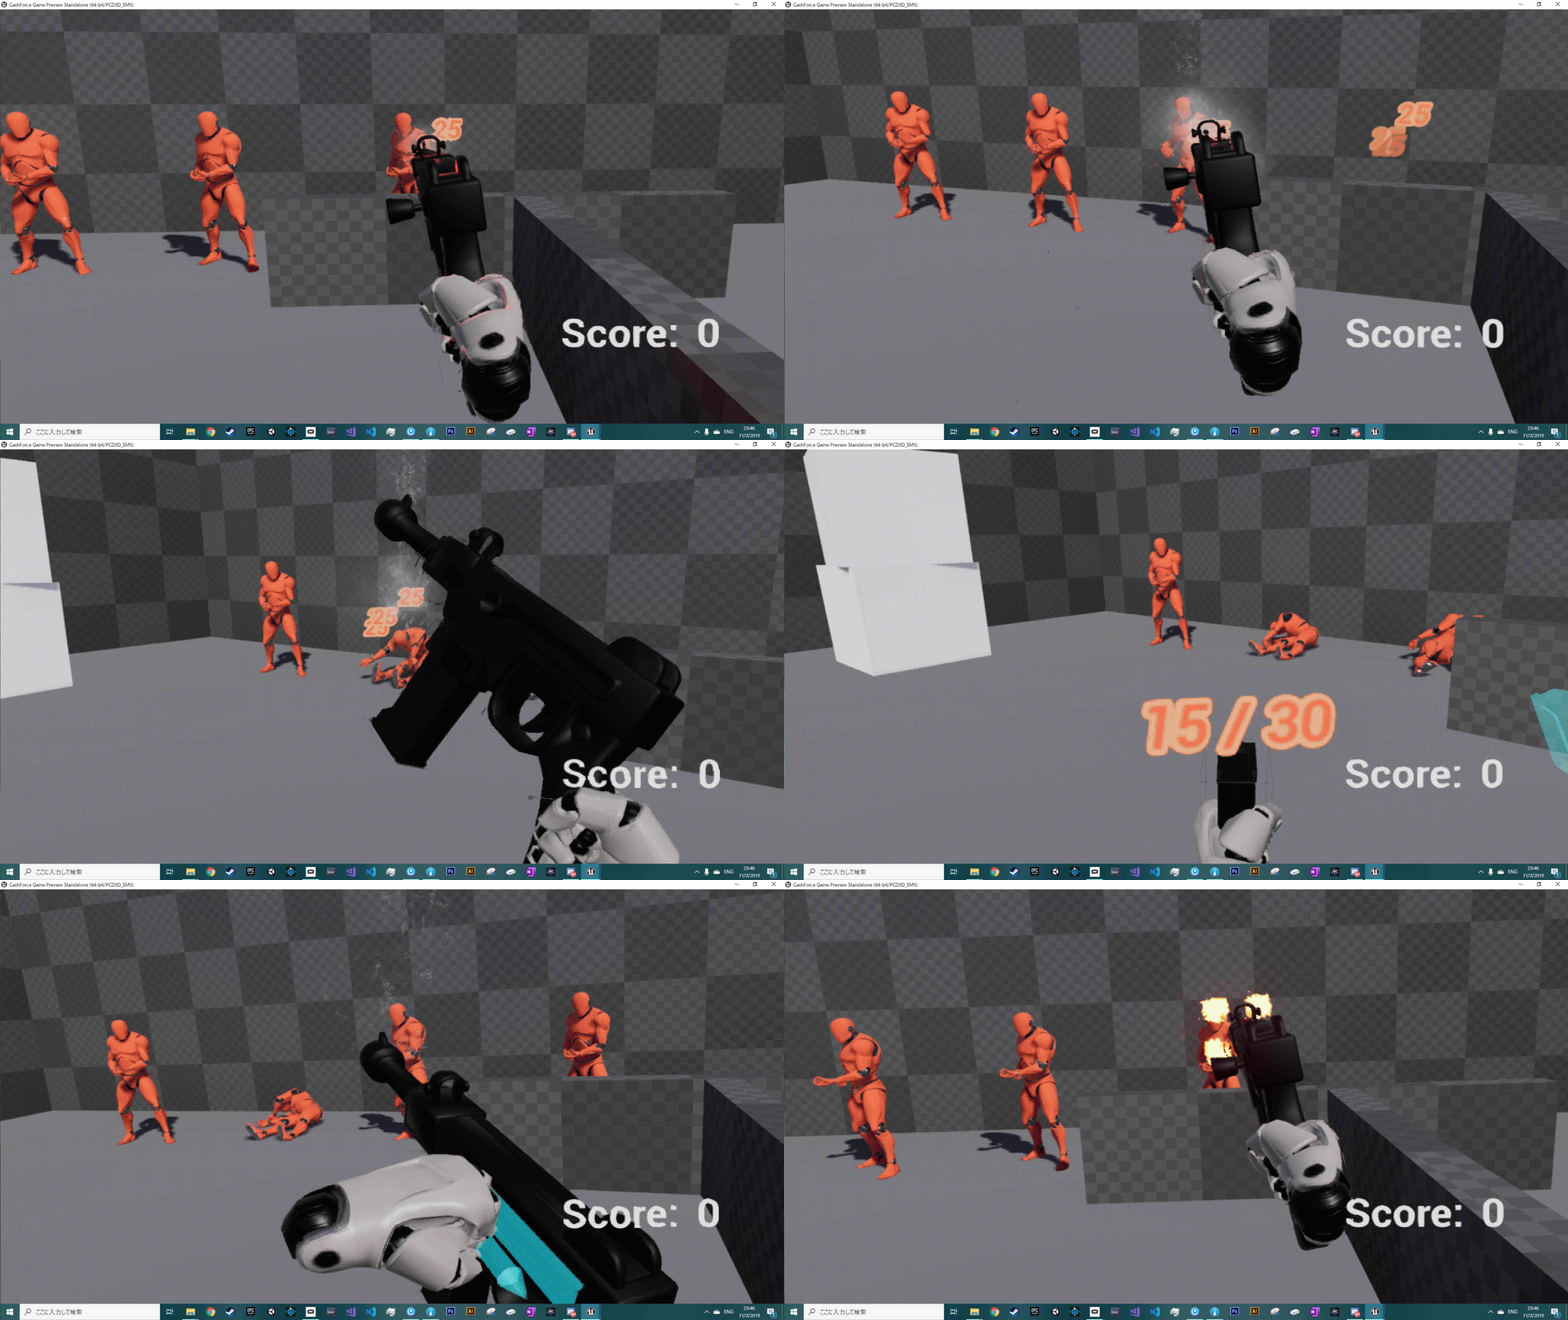
Overall, the design of the game’s systems has come a long way since we picked this as our game to move forward with. To best illustrate this, here is a gif of what the gunplay looked like when we started vs how it looks now:
Iteration: Programming
On the programming side of things, the majority of step 3 was spent getting the van movement system up and running as well as getting the cars to chase the van. Josh created a node based system for the van movement that allows the van to follow a set of points on a spline path. These points can be adjusted by a designer to make virtually any path we want!
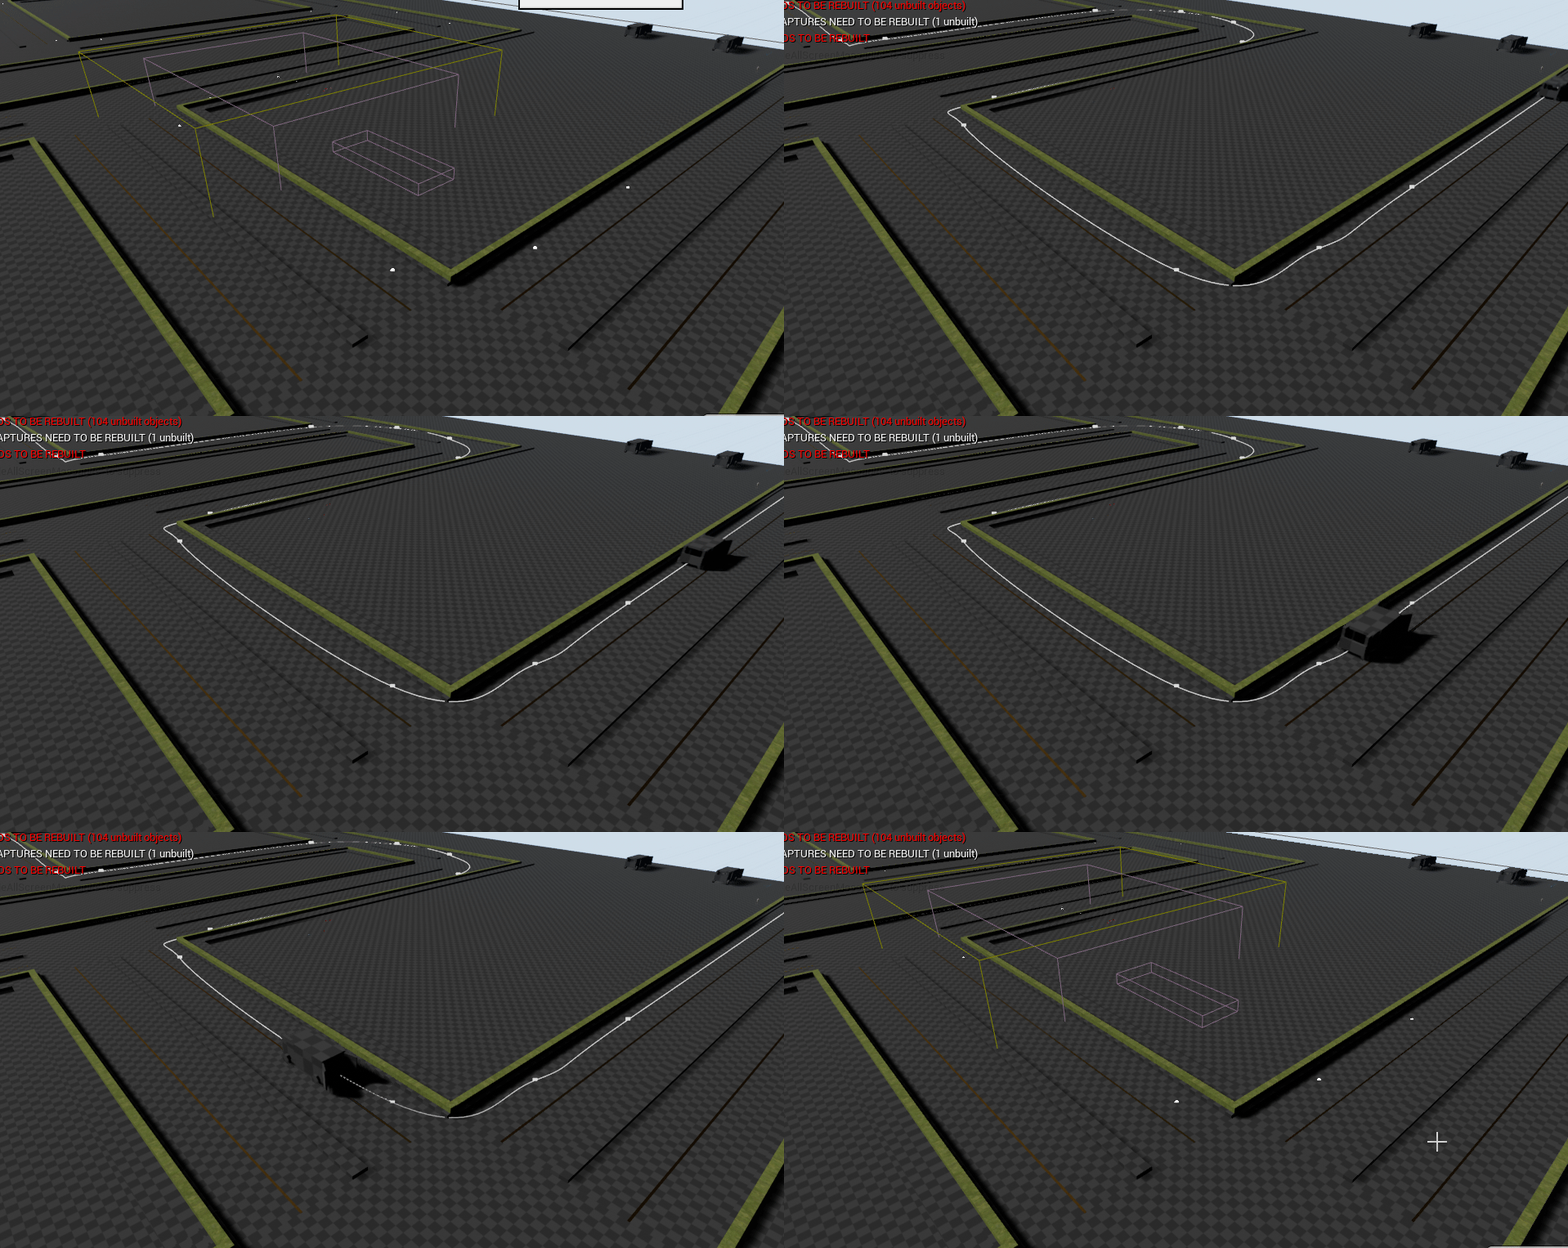
Iterating off of the van system, Josh then created the car following system which allows the cars to follow their own set of points based on the location of the van. After myself and Josh spent several hours figuring out how to get the vehicle movement component to work properly with our car model, he got this system figured out pretty quickly!
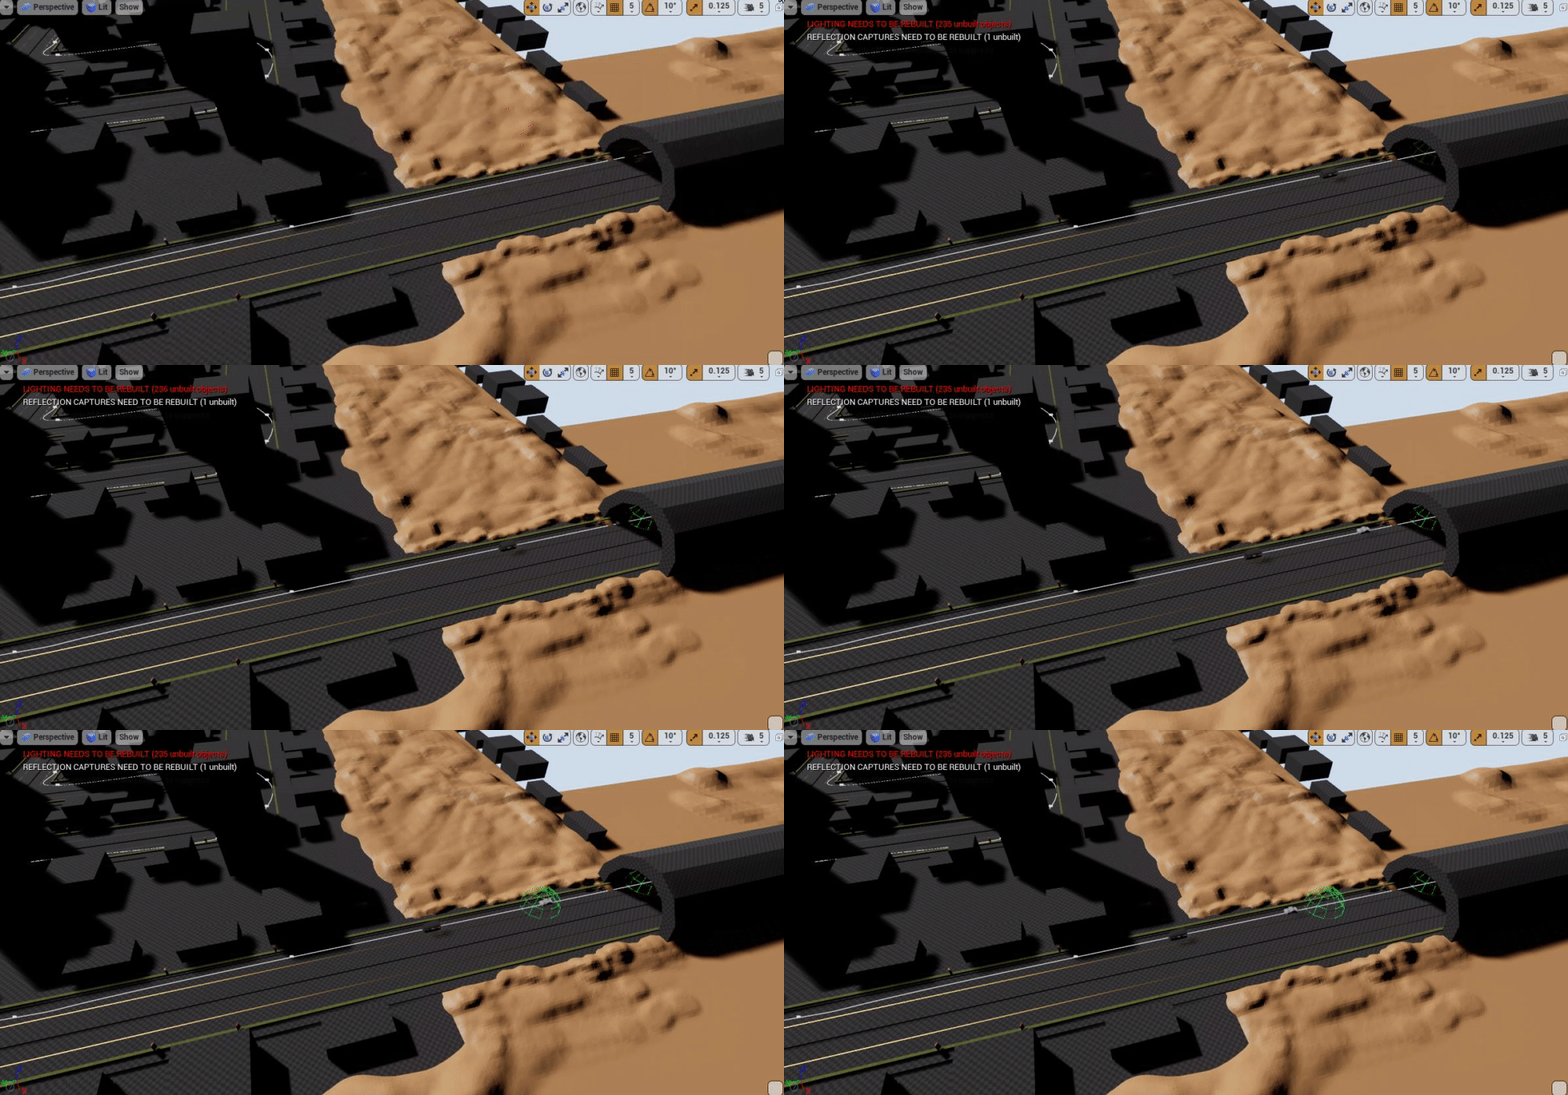
Once the car was following the van, it needed to be able to follow it around turns throughout the level. Josh leveraged the steering input of the wheeled vehicle component to make the cars dynamically turn around corners. A problem arised where the cars didn’t detect if there was something they would collide with when turning, causing them to go flying whenever they hit something. To fix this, Josh iterated with a “whisker” collision detection system which using line traces to keep the cars away from any obstacles.
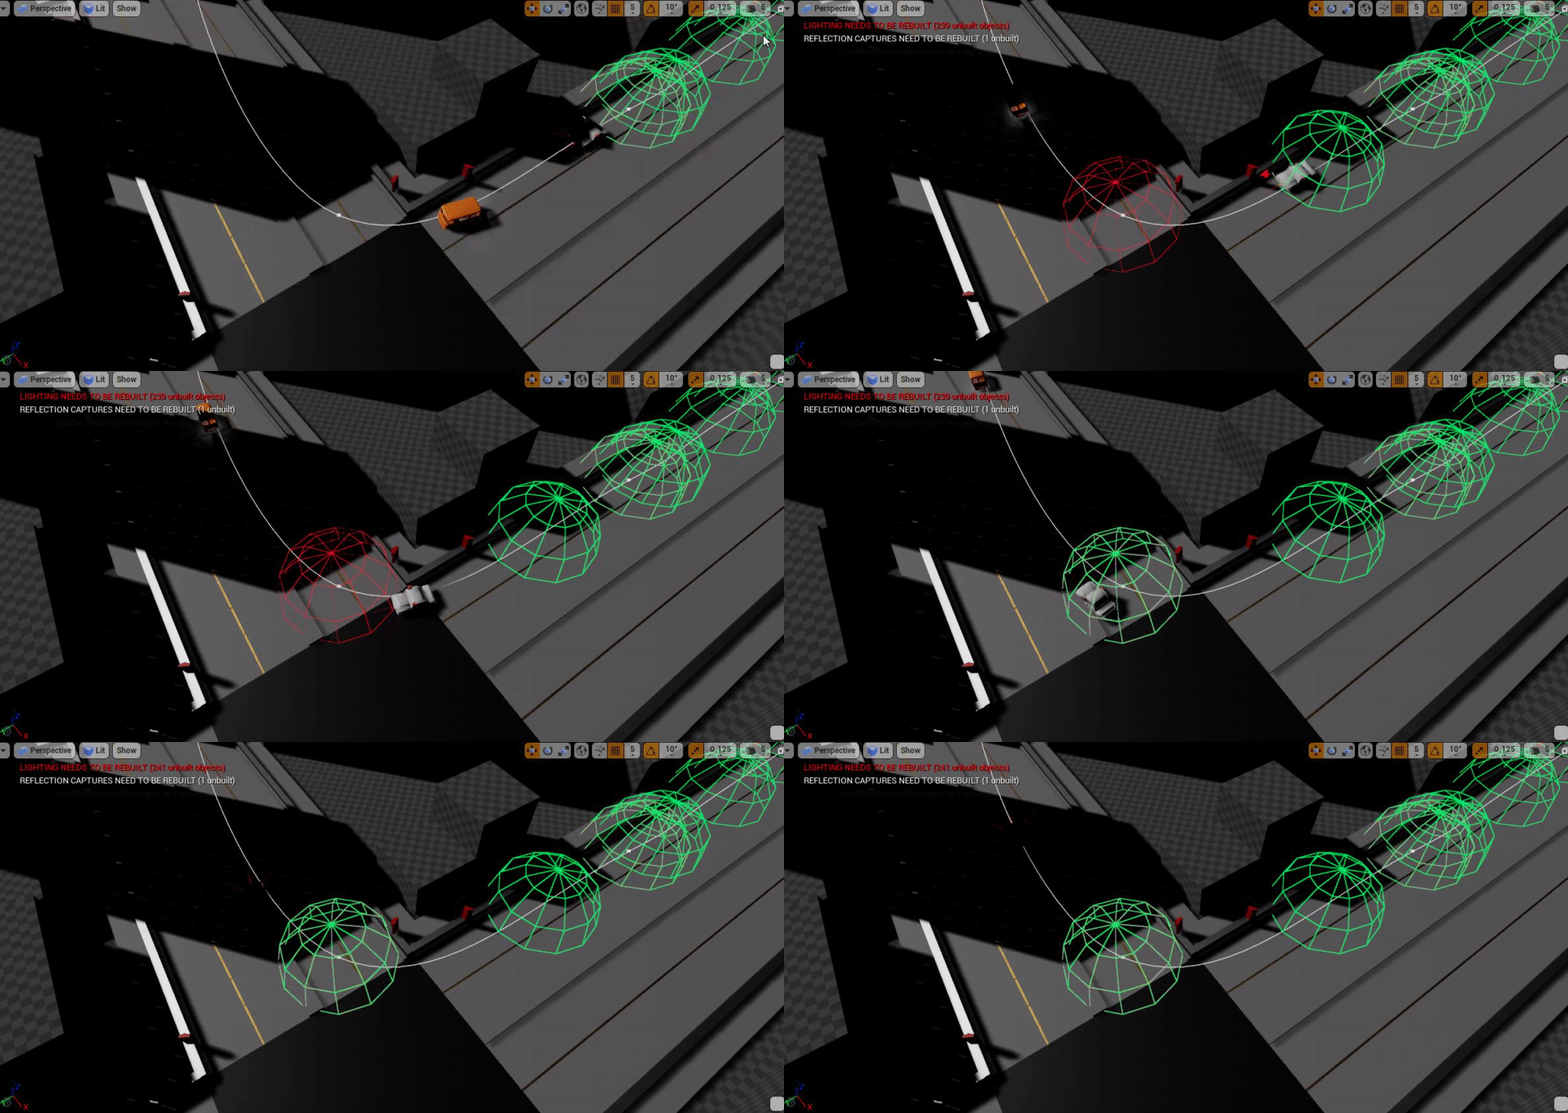
As far as my end for iterating on programming throughout this step, the previous two update posts I’ve made go over all of that. From procedural animations to shooting and weapon interactions, I’ve been busy doing tech design stuff throughout this whole step!
Iteration: Art
Significant iteration was done to the art of the game throughout the duration of step 3. Once we all figured out we wanted to do a desert setting, Adam got right to work iterating on a design for the player’s van and the enemy cars. He also iterated on the texturing style and colors for those assets, focusing on using baked textures to convey the 70’s style for now until we can make a shader for it should we go through next semester. The van was later updated to feature a wall for guns to be mounted on as well.
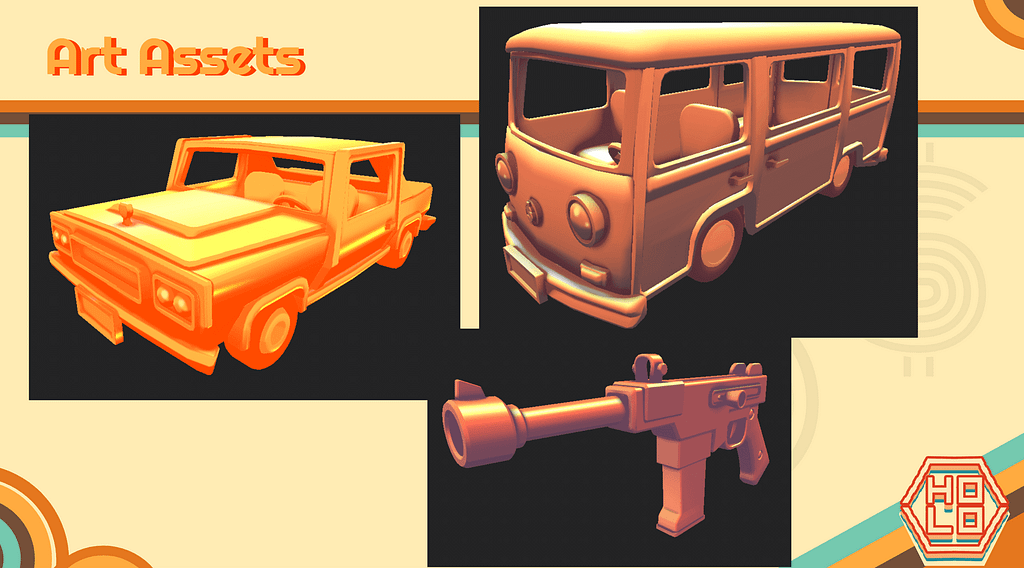
Deciding on the desert-city theme allowed us to define exactly what sort of environmental props we needed to create an immersive play space. Once we created the asset list, Adam created all sorts of environment props, from lovely little cacti to street and road signs. He also made some tileable textures for different environment assets, mainly for buildings, roads, sand, and the sky.

Week 11 Update on My End
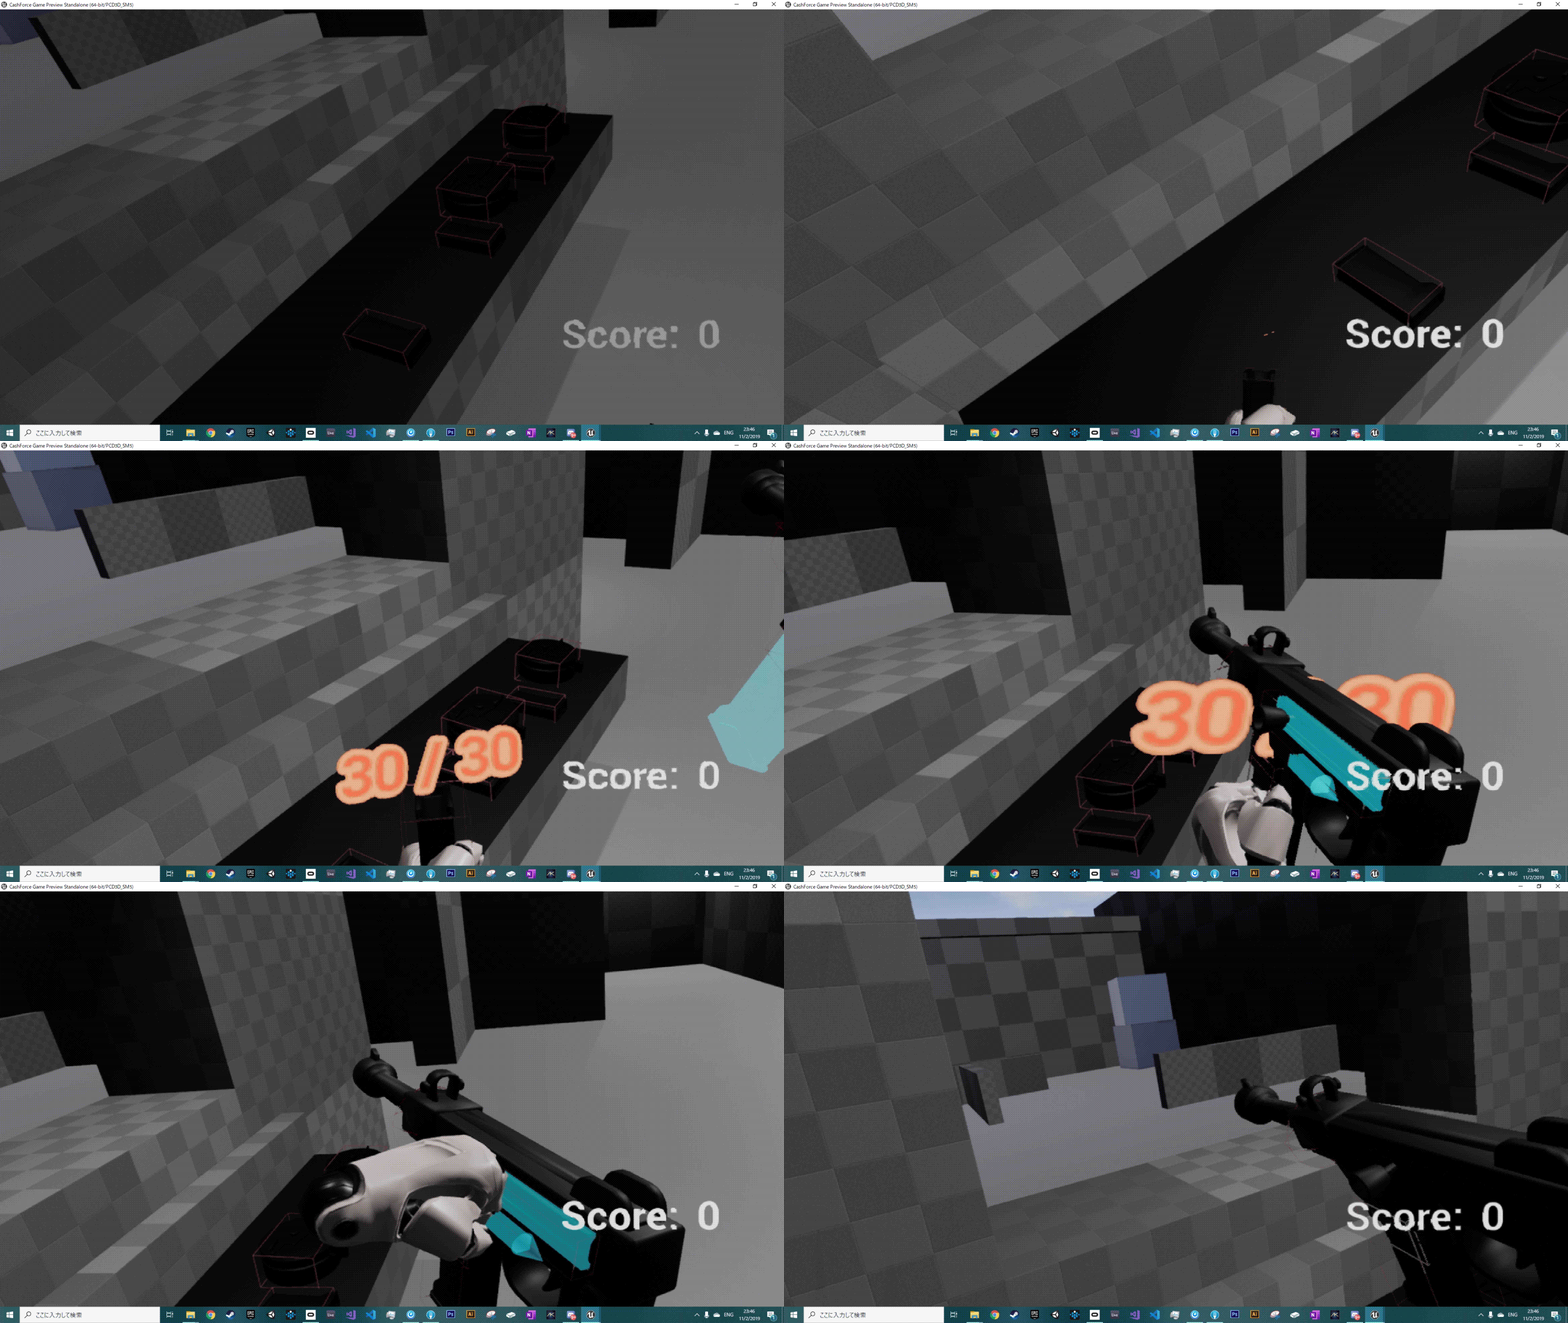
This post is already getting quite long, so I’ll keep my update for this past week really brief. My main tasks for this week were to create the damage component for the enemies and their cars as well as hook that up to a scoring system. I also was tasked with making some score UI pop up buttons when enemies took damage to give the game extra feel, and got a little carried away in making an ammo indicator for the magazines as well.
The damage component uses our old temporary damage system but instead is now implemented using an interface. When damageable actors (e.g enemies, cars, player) take damage, their damage component recieves data from the gunshot line trace regarding the impact point and hit bone. This allows custom text and score values to be assigned on a per bone basis, making the scoring system far more dynamic. Currently it only works with headshots, but I’ll be working on a data system with Josh soon to assign damage multipliers and score values to bones so we can test the hit bone against the list of bones in the actor’s data table and set them accordingly.
The UI pop ups are self explanatory: when you hit an enemy, some text pops up indicating the hit! As for the ammo indicator, we wanted it to be close to real life where the only way to know how much ammo is left is to check the magazine by pulling it out of the gun. When the player picks up a mag, a pop up appears sowing the current amount of ammo vs the maximum amount of ammo left in the mag.

Reflection
This step of the capstone process was quite long, but the core gameplay systems really started to come together quickly throughout its duration. As a team, collaboration was on point as per usual, with everyone working dilligently on their assigned tasks and assisting each other when needed. We’ve managed to improve our meeting and communication process as well, as we got a lot less sidetracked throughout the duration of this step and kept our meetings short and to the point, saving the memes and banter for afterwards.
Our processes and decision making have continued to further improve as well. We’ve started doing daily scrum calls in addition to our already established daily text updates in order to stay updated and make decisions with far more efficiency. The game itself came a long way in this step as a result of this. From starting from absolute scratch to the point the game is at now at the end of this step, our decisions have all been focused on getting the core gameplay implemented and feeling as good as possible. However, we may have had prioritization issues, as we may have focused too much on the feel before getting some of the other core features in like enemy AI and the game loop. We’ve planned for all these features and their polish to be the focal point of the final few weeks of development, deciding on a clear list of priorities going forward.
I learned a lot during the duration of step 3, mainly about how to effectively prioritize tasks in order to ensure that the core of the gameplay experience is developed first and polished second. As I’ve said before, I am very detail oriented and like to focus on making gameplay feel as good as possible, but a game with as many features as Cash Force, I’ve learned to hold that back in order to focus on our other features moving ahead. In light of this, my focus in the coming weeks will be on implementing the basics of the enemy shooting AI, the audio assets I’ve created, and the game loop/safehouse hub environment along with the basics of the buying and upgrade systems.
See you next time,
– Karl
